![]()
![]()
![]()
![]()
![]()
![]()
![]()
![]()
![]()
![]()
![]()
![]()
![]()
![]()
![]()
![]()
![]()
![]()
![]()
![]()
![]()
![]()
Mac's Modeling, LLC.
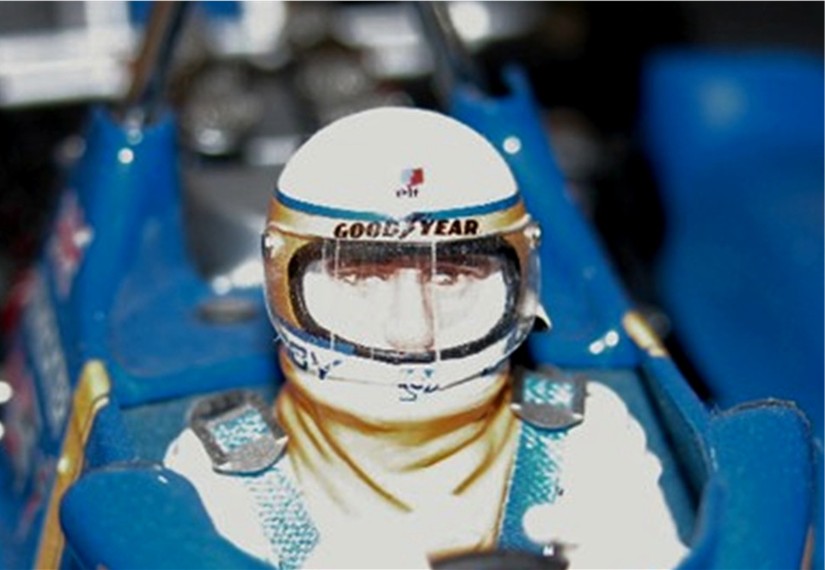
Forming Helmet visors
To get a good fit of the visor on helmets, it is best to form them so they fit nicely.
I use a system very similar to that
described on Denizen Miniatures website. It is also very handy to replace those
visors that crack and split on some diecast models, EXOTO for example.
 See what I mean.
First, I make a template of the visor I
want to form,
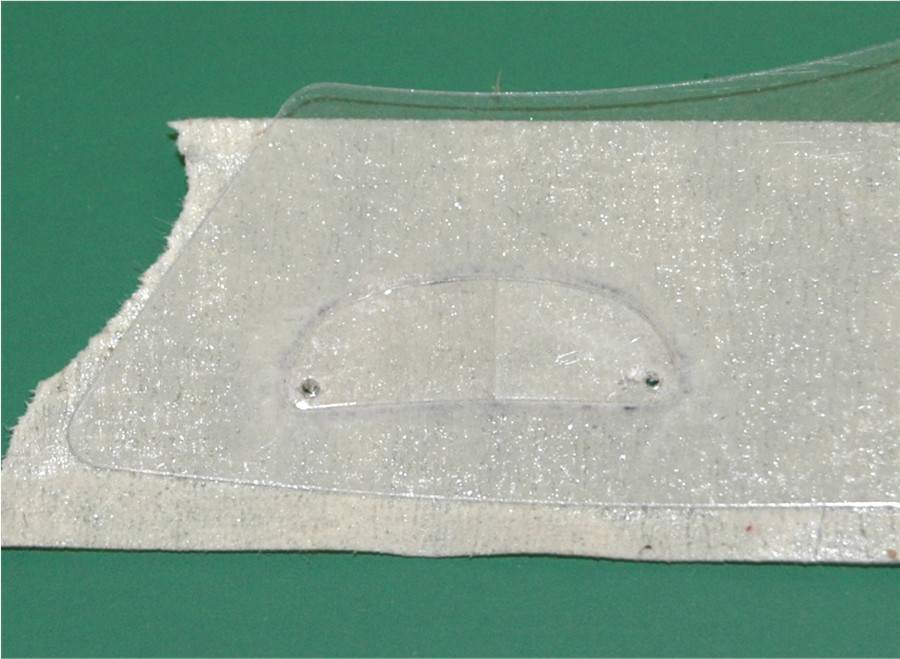
 by marking it out on some painter masking tape. (This can be
done by sticking a piece of tape around the helmet and marking out the visor, if
no template is supplied with the helmet.) When replacing a broken visor, I
stick the broken one on the masking tape, then stick the tape on a piece
of clear or dark plastic sheet. (What I find to be really good are the little
plastic "forms" that the drycleaner put at the front of my shirt collars.)
by marking it out on some painter masking tape. (This can be
done by sticking a piece of tape around the helmet and marking out the visor, if
no template is supplied with the helmet.) When replacing a broken visor, I
stick the broken one on the masking tape, then stick the tape on a piece
of clear or dark plastic sheet. (What I find to be really good are the little
plastic "forms" that the drycleaner put at the front of my shirt collars.)
 I
mark the holes for the hinge pins and drill them out.
I
mark the holes for the hinge pins and drill them out.
Some helmets come with a template, in that case I use a piece of clear "Scotch tape" over the template and stick it on the plastic I plan on using.
I then cut the shape I have marked out on
the tape. Depending what scale, decides what I use, 1:43 I use a modeling knife
with a new blade, larger scales I just use scissors
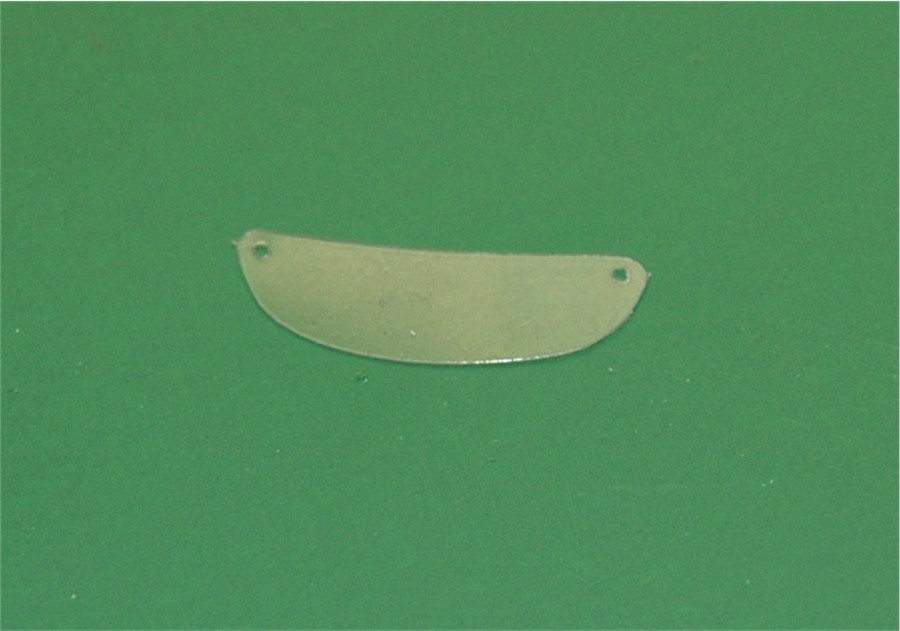 and then trim with a
modeling knife and sand paper. When using the knife, don't worry if you don't
cut all the way through. You will be able to simply "tear" the visor out. It
will follow the cut you made with the knife.
and then trim with a
modeling knife and sand paper. When using the knife, don't worry if you don't
cut all the way through. You will be able to simply "tear" the visor out. It
will follow the cut you made with the knife.
Then I check it on the helmet it is to fit and make sure everything is good.
After I have the shape I want, I get a piece of rod material. I use aluminum as I have all kinds of sizes around, but a wood dowel material will work. Select a diameter close to the size you need, possibly a little smaller than you actually want. 1/2" diameter is generally good for 1:18 scale, 3/8" diameter is good for 1:20. But use the size you are happy with. (In this case I used 3/8")
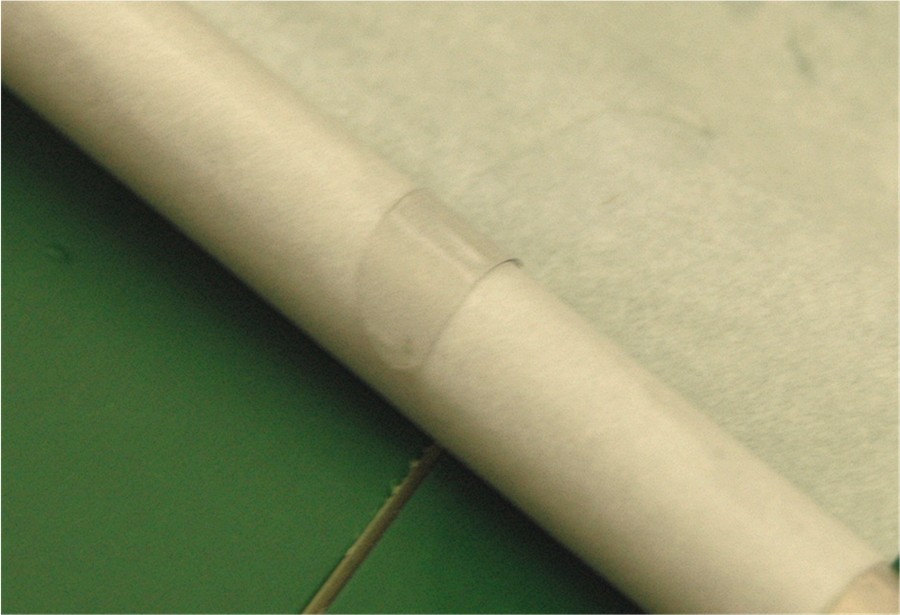
The next step is where you need to be
careful. Get a small piece of white paper; it only needs to be around a strip
1.5" wide. Now wrap this around the rod and overlap itself. Now place the visor
in between the paper (Update: I use two more
of the plastic "collar pieces" to sandwich the visor, that makes sure they
remain crystal clear.) as you continue to wrap it around the rod. Make sure the
visor is square to the rod
 or it will not fit correctly when done. Once
completely wrapped stick some tape on it to stop it from unraveling.
or it will not fit correctly when done. Once
completely wrapped stick some tape on it to stop it from unraveling.

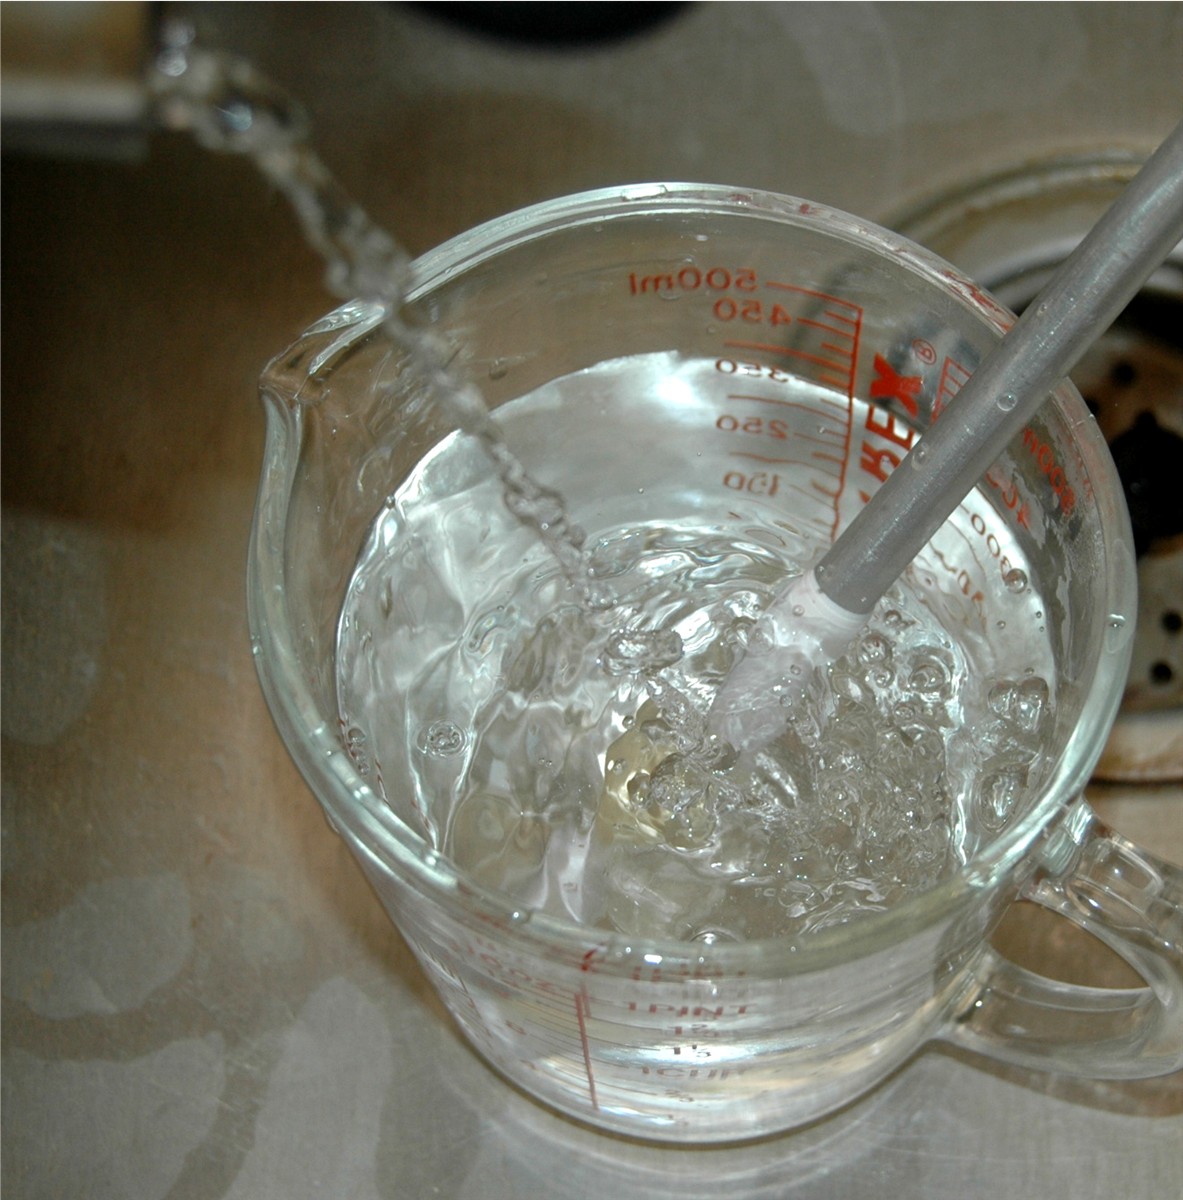
I like to use HOT water for the next step,
some like to use a heat gun. I use a
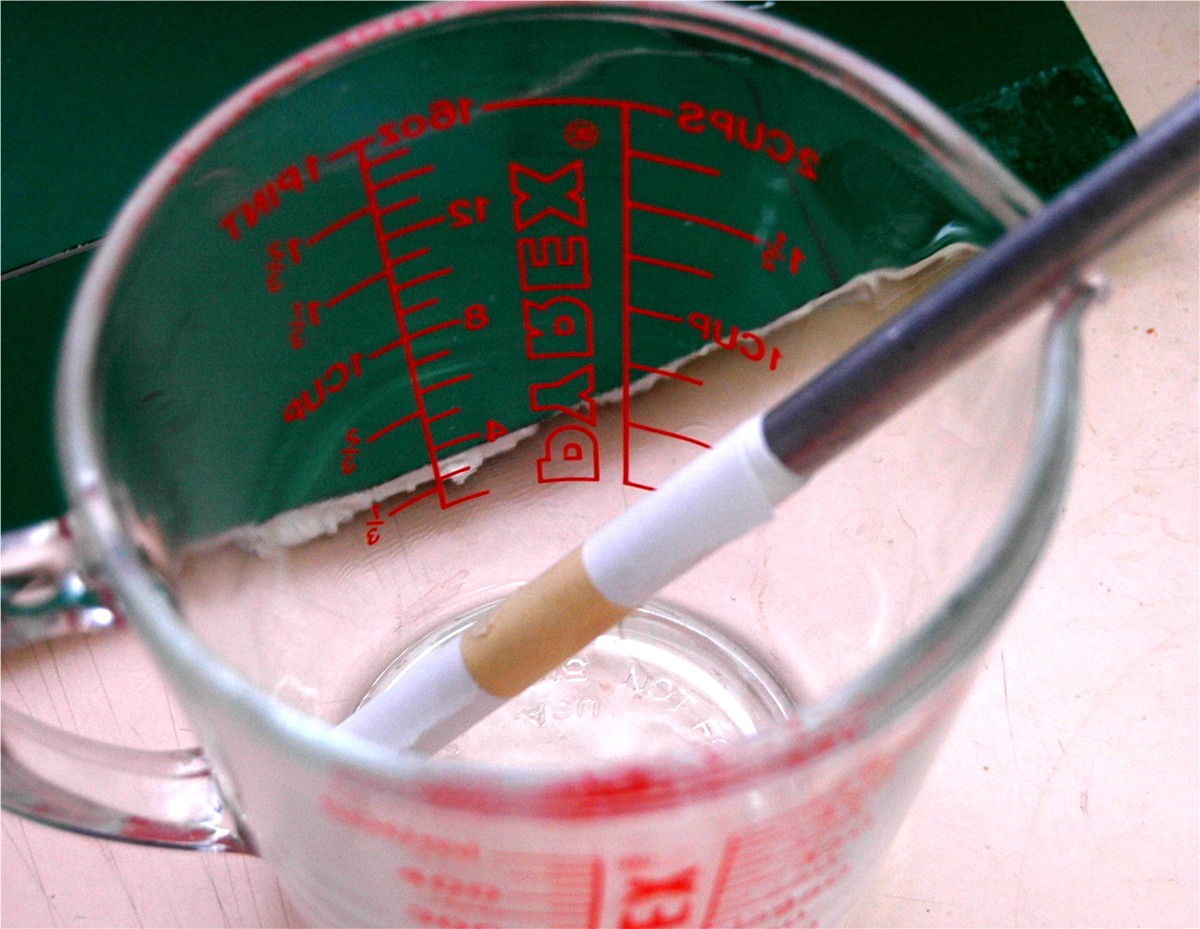 Pyrex cup/dish, something like that and
pre-heat it with hot water from the tap (to make sure
it does not break with the temperature difference, your spouse will appreciate
that). While I have a kettle boiling some
water. When the kettle boils I sit my
visor mounted on the rod in it and pour in the water that has just come off the
boil.
Pyrex cup/dish, something like that and
pre-heat it with hot water from the tap (to make sure
it does not break with the temperature difference, your spouse will appreciate
that). While I have a kettle boiling some
water. When the kettle boils I sit my
visor mounted on the rod in it and pour in the water that has just come off the
boil.
 Letting it replace the warm water. Once the water is replaced
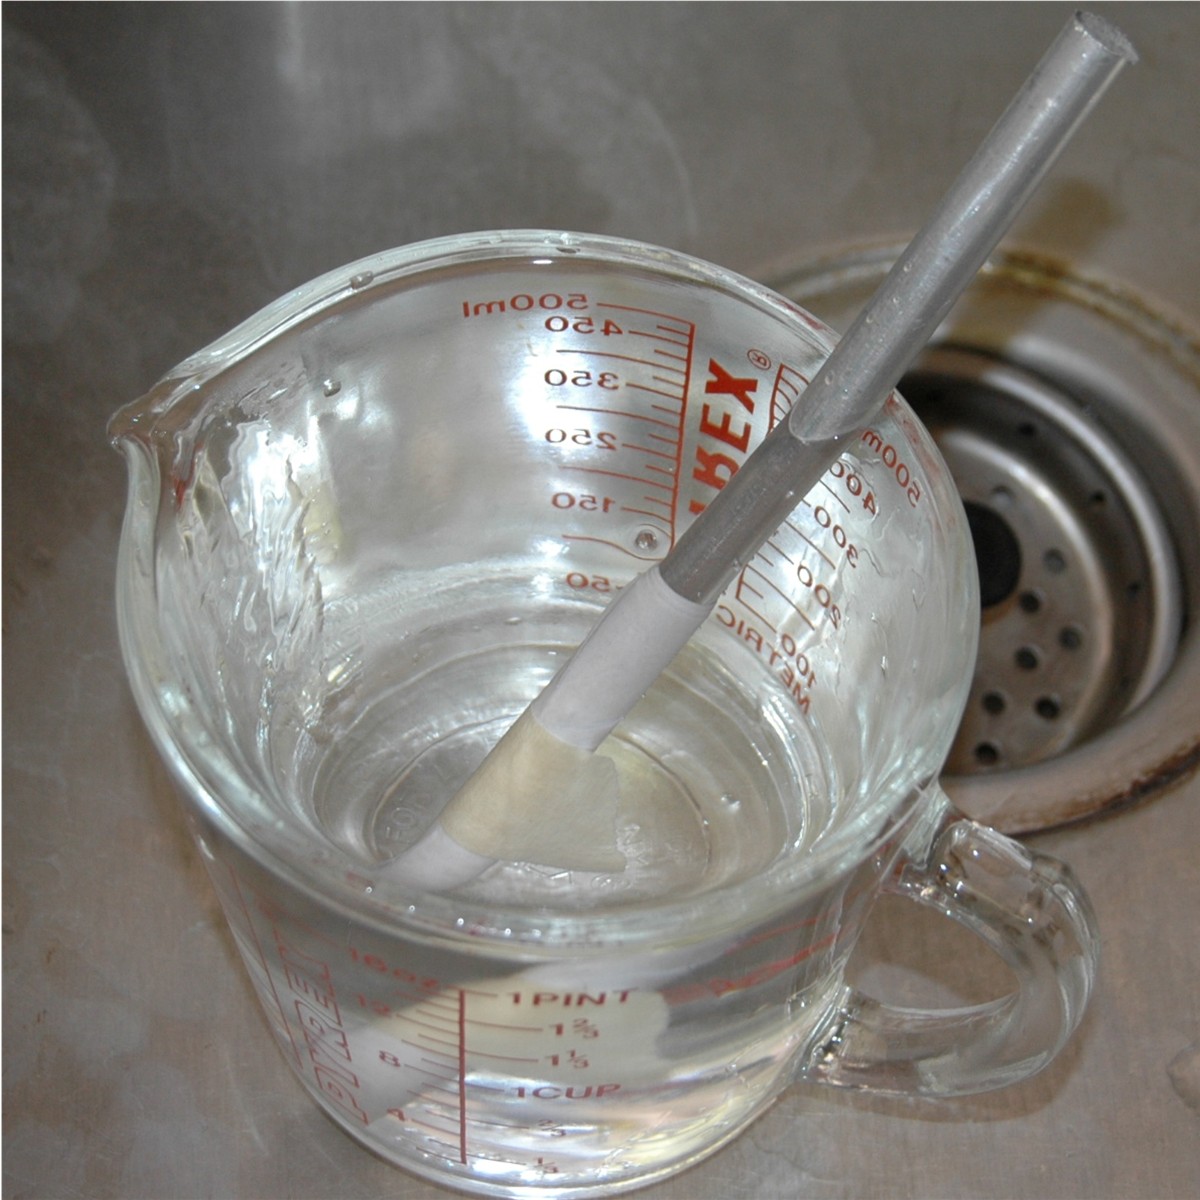 I generally
let it sit for 1 minute max, then remove the rod and run it under the cold
water.
I generally
let it sit for 1 minute max, then remove the rod and run it under the cold
water.
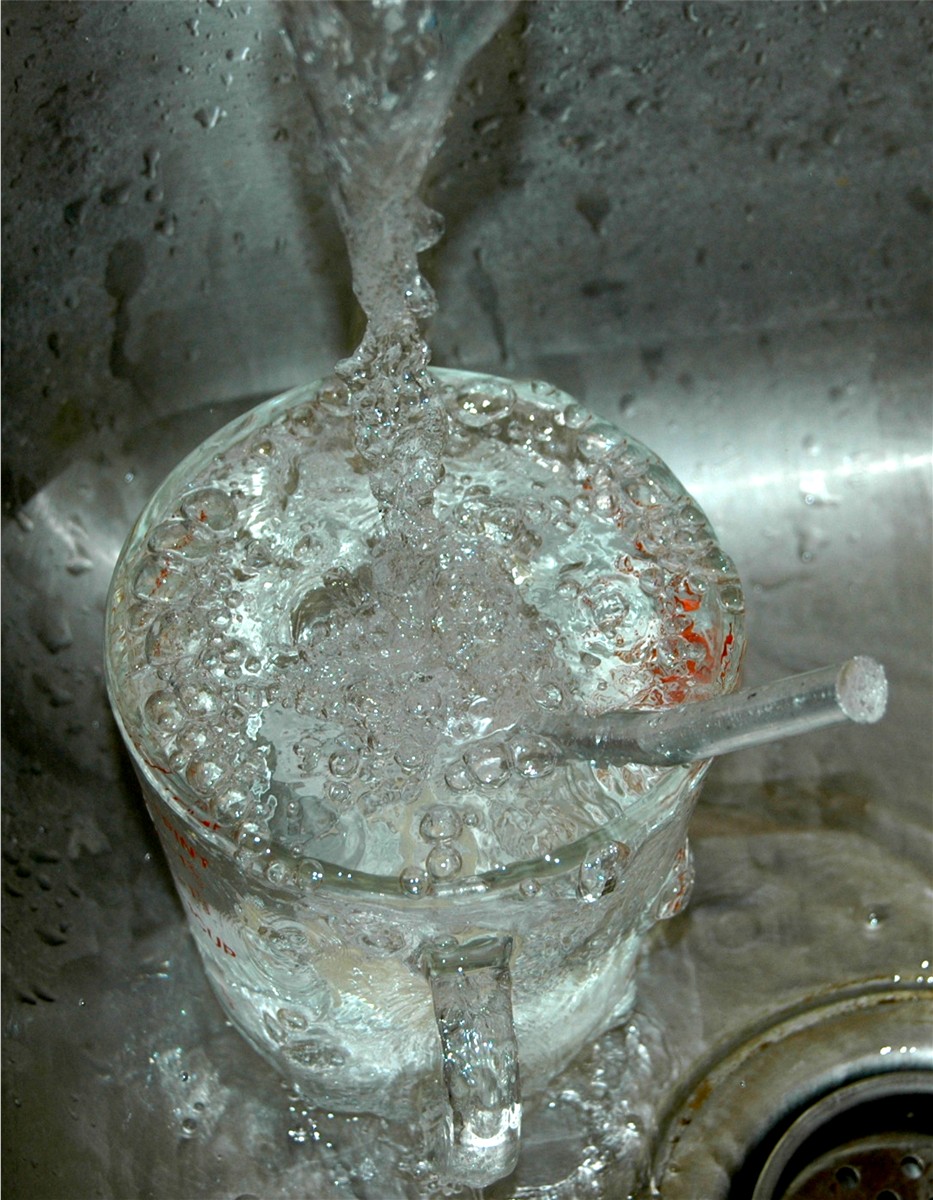 (Try not to burn yourself.) This cools it down and sets the shape.
Remove visor from the paper and rod.
 You should have a
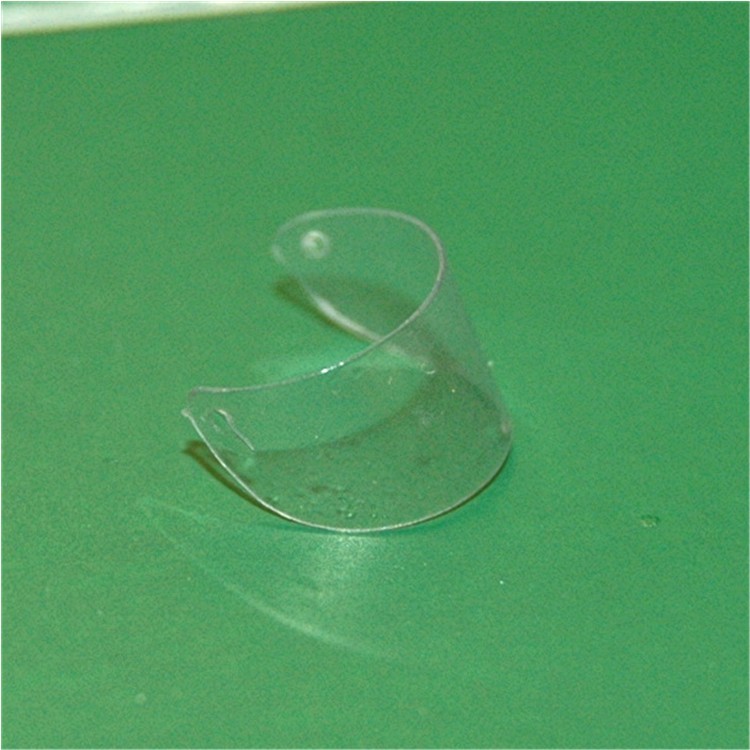 perfectly shaped visor
that you can now install on the helmet and it won't stick out at the bottom like
"un-formed visors". I use tiny rivets or sewing pin heads for the hinge pins,
drilling a smaller hole than the pin size. Start the pin off on one side, so it
will not come out, and then start the second pin on the other side.
perfectly shaped visor
that you can now install on the helmet and it won't stick out at the bottom like
"un-formed visors". I use tiny rivets or sewing pin heads for the hinge pins,
drilling a smaller hole than the pin size. Start the pin off on one side, so it
will not come out, and then start the second pin on the other side.
 I take a
pair of pliers and just squeeze the pins in far enough so the hold the visor in
any position I put it.
I take a
pair of pliers and just squeeze the pins in far enough so the hold the visor in
any position I put it.
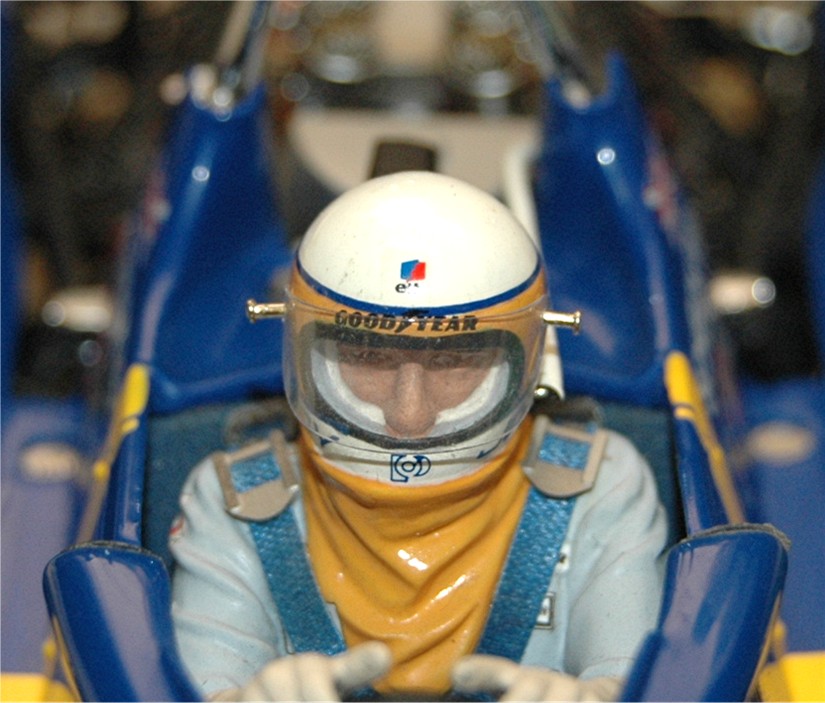
With that done you should have a really
good looking visor on the helmet.
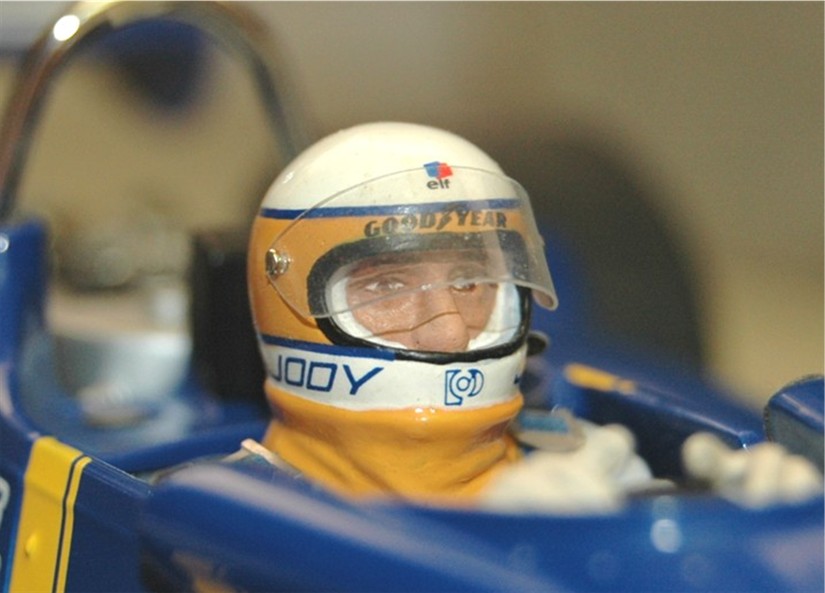
See easy! And no special tools needed.
Now you try. ;)
Mac