![]()
![]()
![]()
![]()
![]()
![]()
![]()
![]()
![]()
![]()
![]()
![]()
![]()
![]()
![]()
![]()
![]()
![]()
![]()
![]()
![]()
![]()
Mac's Modeling, LLC.
Remove Decals from Die-cast models
There have bee a lot of people lately asking about removing decals from Diecast model so they can apply after market decals. The following should be of help.
There are different approaches to removing decals depending on who produced the model.
Minichamps are the easiest decals
to remove, it is almost as if they are attached by static electricity. But care
still needs to be taken.
First examine the decals on the model and decide which ones you need to remove,
I say this because some decals encompass two decals, one part may require to
remain. You can see where the edge of the decal is.
If one part needs to remain; take a NEW modeling knife blade and lightly
cut across the decal so that one piece will be left. (You can, if you want,
remove the complete decal then cut the part off you want to put back on the
model). On the section you wish to remove, again using your modeling knife,
carefully lift a corner of the decal and grab it with tweezers. Carefully peel
the decal off.
For more stubborn decals, you can use
scotch tape. Be careful not to stick the tape on any
decal you wish to remain. Lay the scotch tape on the decal and rub it to
stick well on the decal making sure you go past the decal on to the painted
bodywork. Then carefully remove the decal starting at one corner. If you find it
is still connected to a decal you want to remain, cut through the decal
carefully with your knife and continue peeling it back.
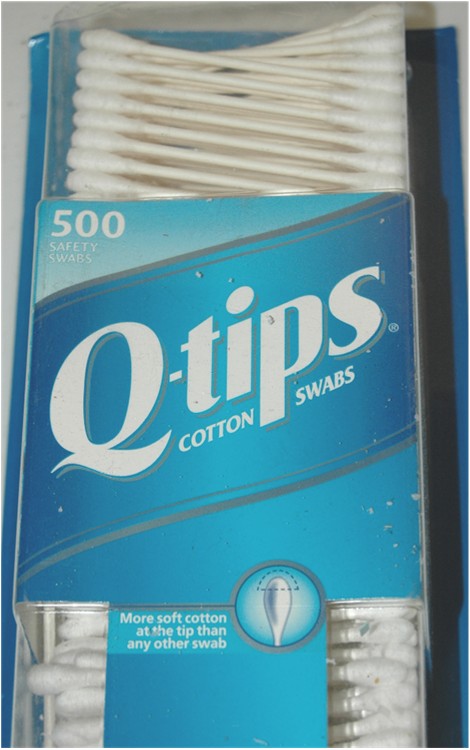
Once removed, clean the area with a cotton bud "Q-tips"
dipped in a little diluted dish washing liquid and rinse the same way.
After all the required decals have been removed wash the bodywork with the soapy water and dry it off, ready for the application of the new decals
Hot Wheels are generally the most
difficult. I believe they may have a clear coat applied after the decal.
As before, examine the model and decide which decals are to be removed and which
are to remain.
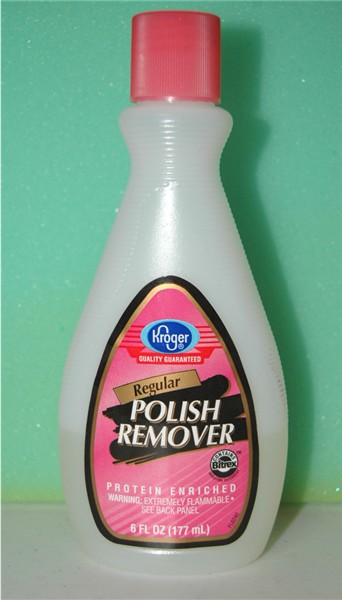
I have most success using cotton buds "Q-tips" and nail
polish remover. It can be either acetone or non acetone type. You will need
a good supply of Q-tips.
Take a small area at a time, dip the cotton bud in the acetone and start at the
edge of the decal and start wiping the top of the decal, be very careful during
this process, do not leave the acetone on and walk away. Do NOT rub too hard or
you will remove the paint. You just need the decal to be removed, so as soon as
paint appears on the cotton tip, STOP. Then immediately wash the area with
diluted soapy water on a cotton tip. Use a new cotton bud as soon as it is
getting clogged with the decal.
The more you attempt this the easier it will become. Just remember, be patient,
don't rub too hard or too long in the same place.
After you have removed all the decals you want, wash the bodywork again with the soapy water, and dry it ready for the decal application.
NOTE: Some "decals" are not decals, they are painted on. So make sure what you are trying to remove is a decal.
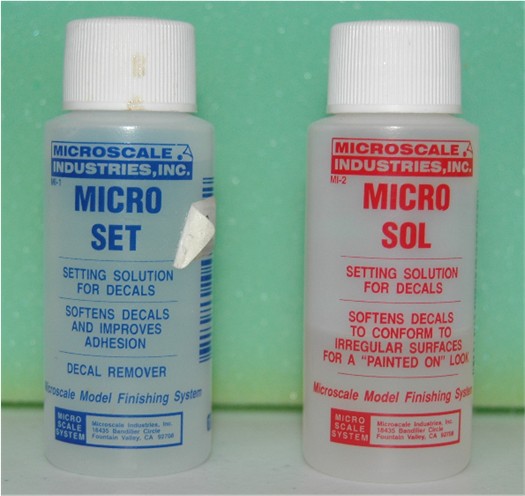
Applying the new decals: Have a saucer of warm water ready to submerge your decals in. Have your decals cut from the sheet. Have tweezers and Q-tips at hand. Have your decal setting solution ready. (I use Micro-set and Micro-sol)
Pick the area for the decal you are going to apply. Using a Q-tip apply a solution of water and decal setting solution to the model. (It will probably bead up, but do not worry) Place the decal in the dish of warm water, give the glue enough time to soften allowing the decal to "Slide" on the backing paper.
Place the decal approximately where you want it to go. Slide one edge of the decal off the backing sheet and hold it in place on the model with a Q-tip, slide the backing paper out from under the decals. (You may need to apply more water at this point.) Move the decal into the desired position and carefully dab the decal to remove excess water, being careful not to move the decal. Apply your decal setting solution on top of the decal and roll the Q-tip over the decal ensuring there is no air trapped under the decal.
If there are panel lines you want the decal to conform to, use a little extra decal solution and with the Q-tip carefully push it into the groves.
If there are multiple curved surfaces the decal has to conform to, do exactly as above, but the final operation should be using a hair drier to make the decal shrink/conform to the shape. Do not apply too much heat. Practice makes perfect.
MATERIALS:
Q-tips
 ,
Nail polish remover
,
Nail polish remover
 ,
Decal setting solution
,
Decal setting solution
 .
.