![]()
![]()
![]()
![]()
![]()
![]()
![]()
![]()
![]()
![]()
![]()
![]()
![]()
![]()
![]()
![]()
![]()
![]()
![]()
![]()
![]()
![]()
Mac's Modeling, LLC.
Casting Parts in Resin (Updated 1/5/09)
Many modelers make their own parts by casting them in resin and white metal. It is not that difficult to do and can make a world of difference for detail on a model that does not exist in the kit parts.
I will explain the way I do this in the
following text and pictures.
PART 1:
Basic Materials needed:
2 part RTV molding rubber solution
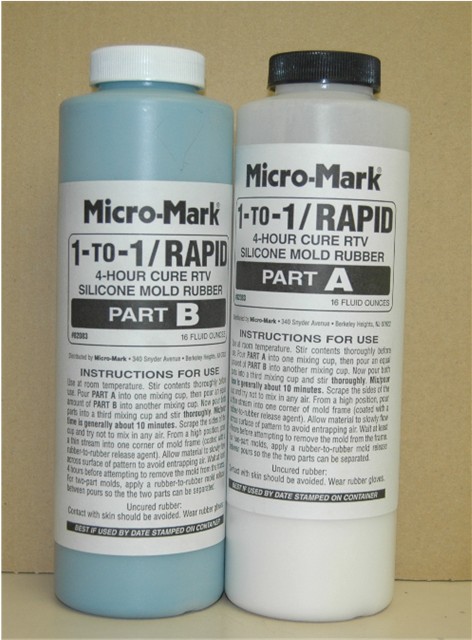 from Micro-Mark
2 part resin (There are different types out there), I
suggest CR-600 from
Micro-Mark
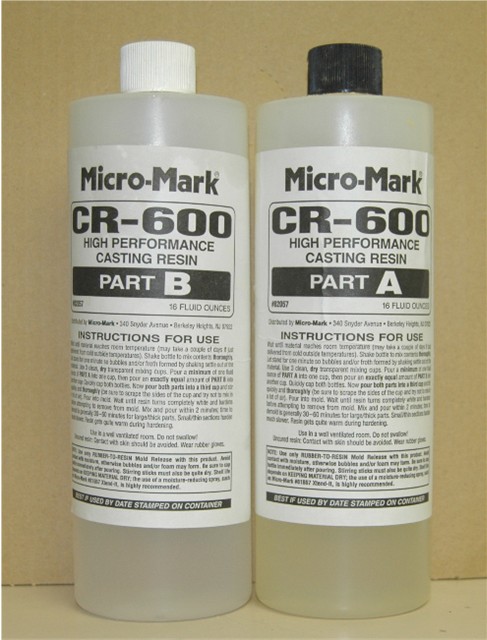 on your first attempts as it gives you more time, or this
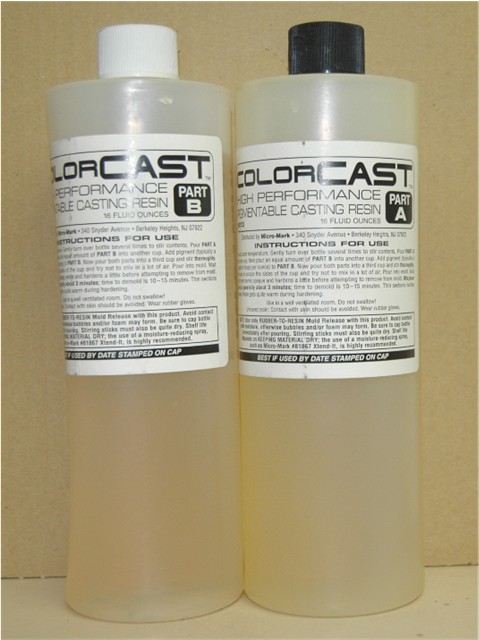 if you want to cast colored resin. This will take a pigment which you mix into
"Part B" before mixing A and B together.
if you want to cast colored resin. This will take a pigment which you mix into
"Part B" before mixing A and B together.
For quick casting, or "open wash" (as I call it) I use
Alumilite
 You have about 90 seconds with this to mix and pour it into the mold. Good
quality finished product though. Alumilite produces different products that you
can mix in for color and material e.g. aluminum, so you can cast pieces that
look like aluminum.
You have about 90 seconds with this to mix and pour it into the mold. Good
quality finished product though. Alumilite produces different products that you
can mix in for color and material e.g. aluminum, so you can cast pieces that
look like aluminum.
Plastic or paper cups to mix the rubber
and resins in.
Mixing sticks
You will also need some sort of release agent, they can be
brush on or spray on.
Material to make mold boxes, plastic sheet, containers, foam poster
board............scotch tape.
First off decide what you want to make. It
may be make parts that move which are molded all in one piece in a kit.
A fine example is the rear suspension on a Tamiya 1:12 Honda RC211V. This will
require 2, two part molds.
Here are the pieces we want to make
 #55 and 56 on the sprue. We need to remove them and assemble them, just as you
normally would. Then we need to separate the hinge bracket from the bottom
spring support, because this is where the movement is required to make the
suspension work.
#55 and 56 on the sprue. We need to remove them and assemble them, just as you
normally would. Then we need to separate the hinge bracket from the bottom
spring support, because this is where the movement is required to make the
suspension work.
With the hinge bracket removed we now have to make and install another bracket
on the bottom of the spring mount (because we just cut this off with the
hinge bracket), and prepare it to make a mold. In other words you have to
add material which will leave flow lines (gates) for the resin to run through in
the mold.
You will have the main pouring vent, (I used a piece of soft model wire,
which is easy to bend)
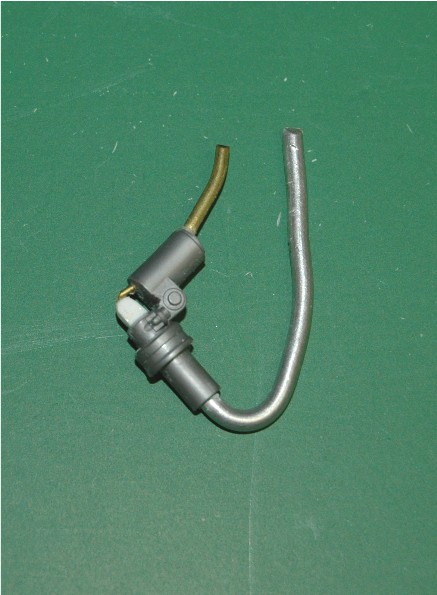 a small piece (of brass wire) between the bracket and reservoir and one (a
larger piece of wire) from the reservoir out to the top again. This will
allow the resin to push the air out as you pour it in. You will have to decide
where you put these gates between the piece relative to having the mold fill
completely with resin and not trap any air. I show you this with the picture;
that is the position it will be in, in the mold.
a small piece (of brass wire) between the bracket and reservoir and one (a
larger piece of wire) from the reservoir out to the top again. This will
allow the resin to push the air out as you pour it in. You will have to decide
where you put these gates between the piece relative to having the mold fill
completely with resin and not trap any air. I show you this with the picture;
that is the position it will be in, in the mold.
Now it's time to make the mold box. So there is no flex in the mold you really need to have approximately 1/2" of rubber all around the object. For this piece the box should be around 1 1/2" square and a little over 1" tall.
Use your imagination on what to make the box out of. I originally started out using plastic sheet. Cut to size and stuck together with tape and/or plasticine at the corners. You can use things like "thumb tack" boxes, poster board, rubbermaid containers, just depends on how big the part is. Remember; you want to be able to dismantle it to remove the finished mold, so if you use a container make sure the sides taper to the bottom. (Like the top of a 1:43 die-cast model case)
For this part, you can drill holes in the side of the box (approximately 1/2 way up) for the vents to poke through, this will aide in positioning the part in the box. Then place small support under the end of the part to make it level.
Time to mix the mold rubber. Put equal
amounts of Part A and Part B in separate cups
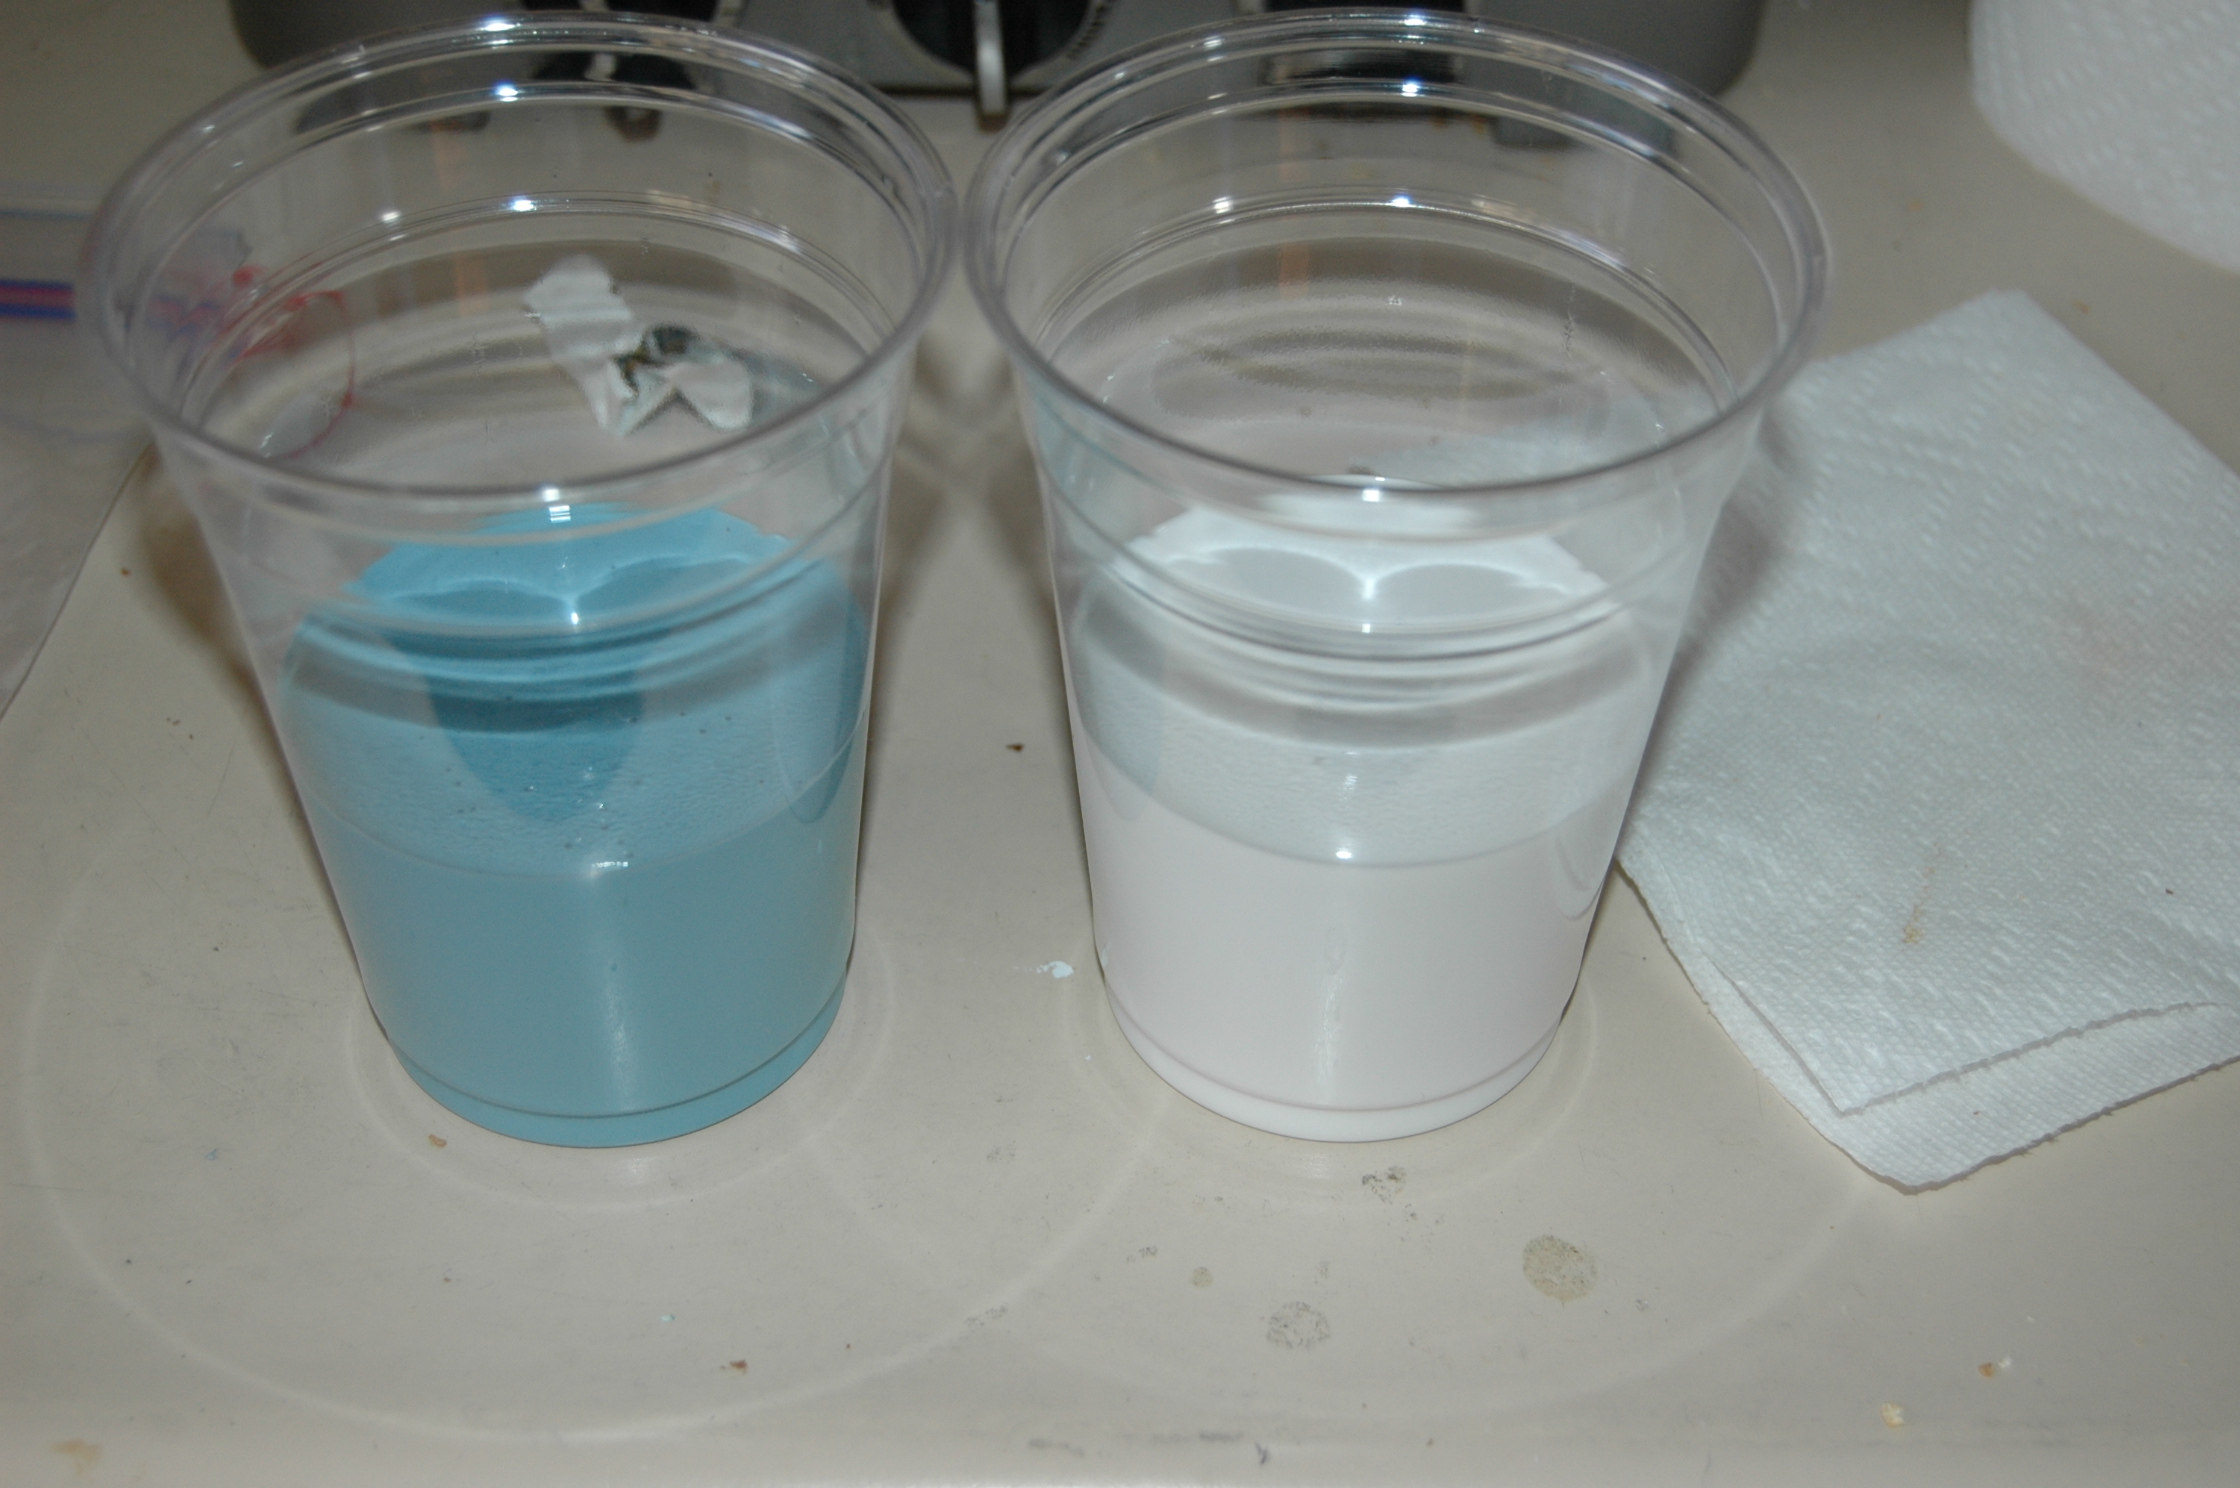 to equal an amount that will half fill the mold box, (always better to have
more) then mix the two parts together. I always pour Part B (the blue) into
the white. Mix slowly, scraping the sides and bottom of the cup to ensure a good
mix. (This is why I like clear plastic cups, because you can see when it is
mixed correctly.) Ideally at this point it would be nice to apply a vacuum
to the mix, to extract all the air, but Vac pumps and chambers can get very
expensive. You don't need one! Once it is mixed completely let it sit for
a short while, then start banging the mix on the counter, this will make the
trapped air come to the surface. You won't get it all out, but don't worry, this
is not rocket science.
to equal an amount that will half fill the mold box, (always better to have
more) then mix the two parts together. I always pour Part B (the blue) into
the white. Mix slowly, scraping the sides and bottom of the cup to ensure a good
mix. (This is why I like clear plastic cups, because you can see when it is
mixed correctly.) Ideally at this point it would be nice to apply a vacuum
to the mix, to extract all the air, but Vac pumps and chambers can get very
expensive. You don't need one! Once it is mixed completely let it sit for
a short while, then start banging the mix on the counter, this will make the
trapped air come to the surface. You won't get it all out, but don't worry, this
is not rocket science.
If you bought the correct cups you will be able to squeeze the top to give you a pouring lip (if you got the wrong ones they will just split) :) Now pour the mix carefully into the mold box, try not to pour any on top of the piece, the rubber will work its way under the part and start filling the box. (Make sure the part does not rise with the rubber.) Fill the box 1/2 way so that 1/2 the "gates" are still showing. Some careful tapping of the box on the counter or vibration will help any trapped air reach the surface. (If you watch it, you will see the air bubbles coming to the surface on their own.) Leave it now for at least 4 hours.
It would be a good idea to make the second
mold at the same time in the same way. The detail of this are: mounting tubes
where we want the bracket to move (have bolts) they also help in
positioning the part in the mold box. You can see I drilled a small hole in the
middle of the bracket,
 that allows the rubber to fill the cavity below. (I actually fabricated this
bracket completely) But you get the idea.
that allows the rubber to fill the cavity below. (I actually fabricated this
bracket completely) But you get the idea.
4 hours has passed..............you now have to cut two corners out of the mold, the purpose of this is for location/line-up of the second half of the mold.
Time to mix up the second batch of mold rubber, just like the first time.
Once the rubber is ready, make sure the mold is completely clean and apply the release agent all over the mold, part and down into the corner you just cut out. Now pour the mix on top and fill the mold box. Leave it for another 4 hours. (This is usually the evening by now for me, so I leave it overnight)
In the morning remove the mold box from
the completed mold, then carefully peel the two halves apart, if you have done
everything correctly you should have something like this
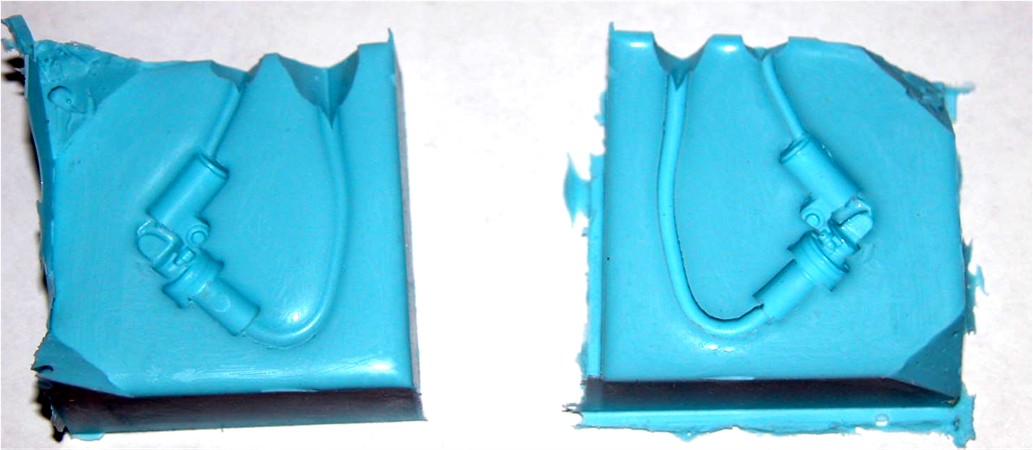 Here you can see where I cut the corners so the two parts of the mold will
line-up correctly. I have also opened up the vent and pouring gate, by cutting a
"funnel" in the top. You are now ready the cast the part in resin. Make sure the
wife is out for the next part. ;) Pre-heat the oven to 150F.
Here you can see where I cut the corners so the two parts of the mold will
line-up correctly. I have also opened up the vent and pouring gate, by cutting a
"funnel" in the top. You are now ready the cast the part in resin. Make sure the
wife is out for the next part. ;) Pre-heat the oven to 150F.
Lightly coat the two halves with release
agent. Put them together so they line up as they were in the mold box, then put
the mold between two flat surfaces
 (I used plywood) and wrap a rubber band around it all to hold it
together. Making sure they do not deform the mold, they just need to hold it
together. Now pop it in the oven for 5 minutes.
(I used plywood) and wrap a rubber band around it all to hold it
together. Making sure they do not deform the mold, they just need to hold it
together. Now pop it in the oven for 5 minutes.
While you are "baking" the mold, mix the two part resin the same way as the rubber, only a lot less of it, you only need a little more than the mold can take. You will finish up with a nice clear liquid if you have done it right (and are not using a pigment). Pull the mold out of the oven and place it on your surface you are going to work at. (I suggest laying down some aluminum foil on whatever surface you use and an old plastic grocery bag on top of that.) You will make a mess the first time. ;)
Carefully pour the resin into the mold
cavity, don't do it too slowly or too quickly. The resin should rise out of the
other vent on the top when the mold is full. At this point it is good to bang
the mold on the counter, again to try and release any trapped air, making it
come up the risers. After approximately 5 minutes the resin will set up and turn
white, and in 30 minutes, depending on what resin you used, you should be able
to remove the mold from the wood and the part from the mold, which should look
like this
 if it doesn't....pour another, and another. It only takes 30 minutes max per
part at this stage. And it's good practice, make enough good ones in case you
screw up the finished parts. (And don't forget to turn off the oven).
if it doesn't....pour another, and another. It only takes 30 minutes max per
part at this stage. And it's good practice, make enough good ones in case you
screw up the finished parts. (And don't forget to turn off the oven).
Just so you know how easy it is to do; this was the first thing I ever cast in resin and only a few years ago. (I just bought the stuff and followed the directions.) I admit I am an engineer and part of my apprenticeship was spent in a foundry, which really helps understand the process. I hope I am explaining it well enough for you make your own parts.
The next part will continue.......lots more to come!
See it's easy! :)
Mac